"You Are My Sunshine" Paper Plate Craft The Soccer Mom Blog
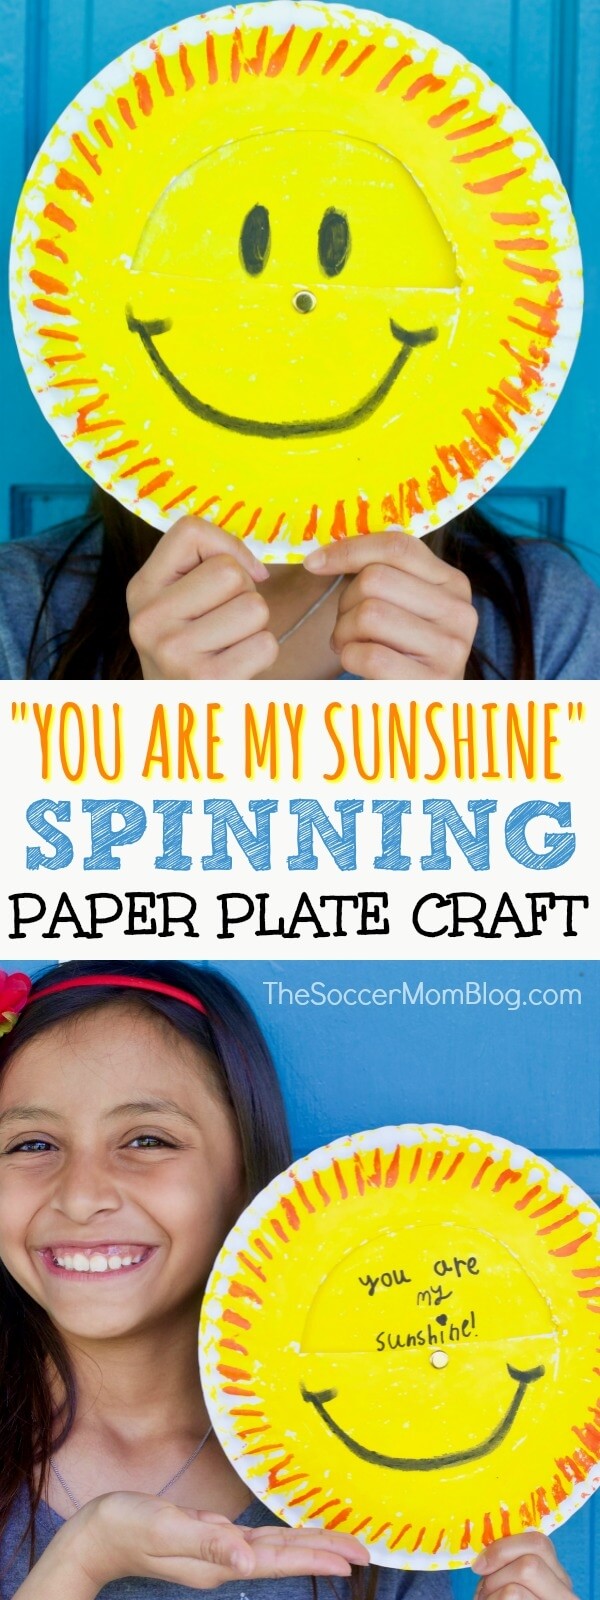
1. Start by cutting a large circle in the middle of a paper plate. To make things easier, cut along the line inside the border of your paper plate. 2. Paint the inside of the paper plate using yellow and/or orange acrylic paint (or washable kids' paint). I wasn't a fan of the orange color I had, so I mixed equal parts yellow and orange.
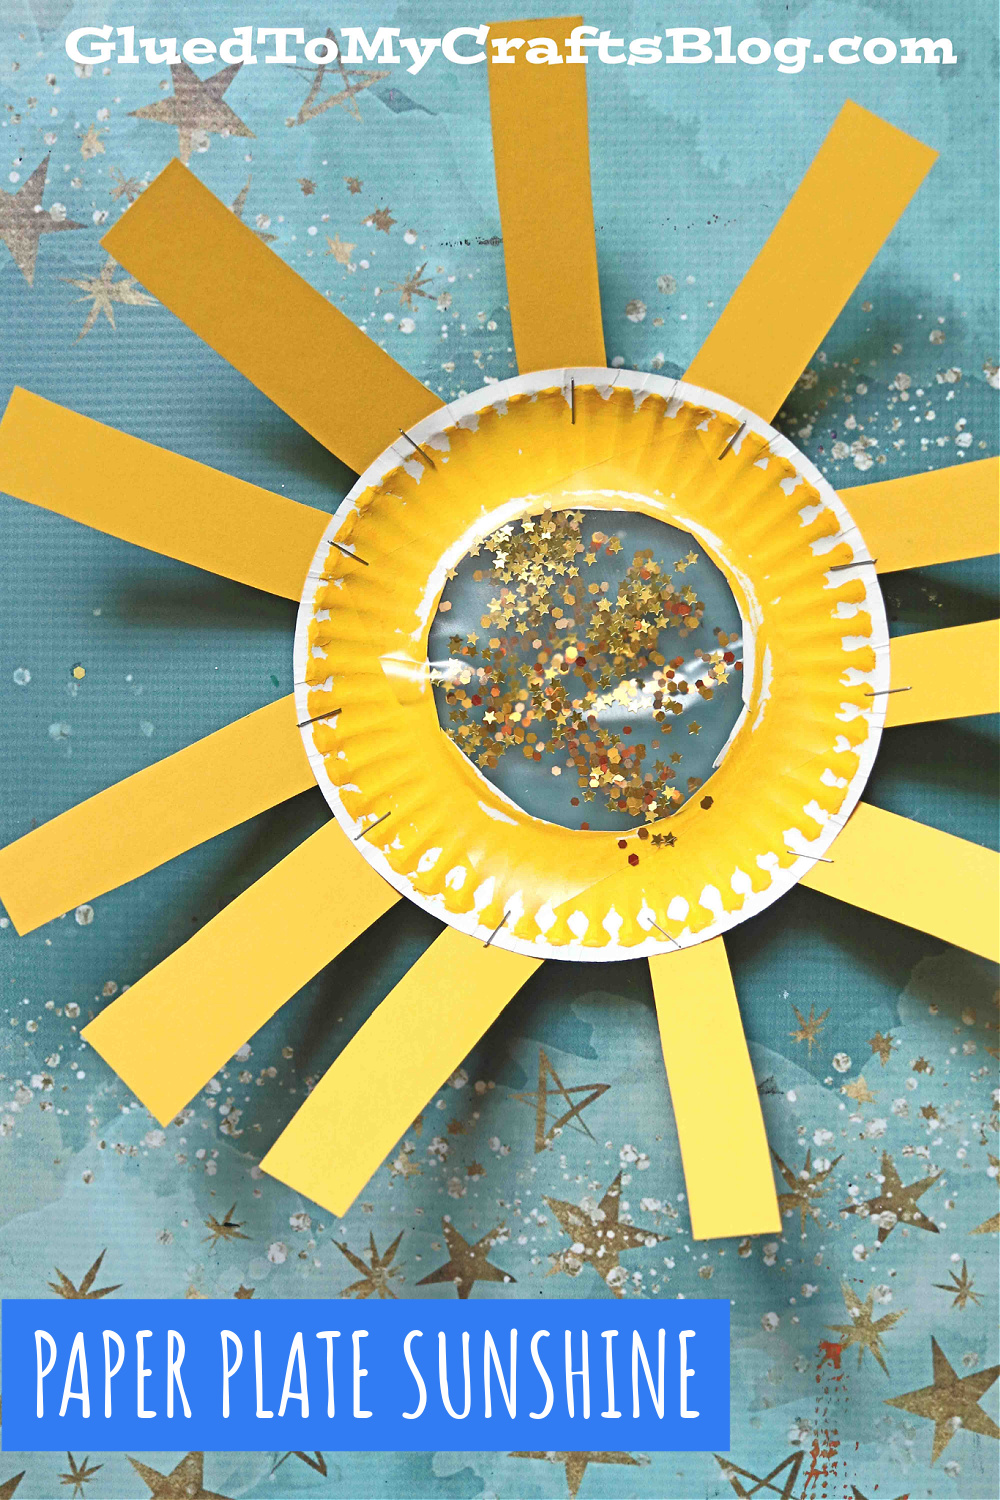
Paper Plate Suncatcher Sunshine
2. Draw and cut out the rays. When the yellow paint has dried, flip the paper plate over and draw the rays of the sun. I like to draw the rays on the back because the pen is easier to see against a white surface. You can make these rays as large or small as you want.

Paper plate craft fmspad fmsphotoaday paper paperplate daycare
Paint the paper plate yellow and let dry. Cut seven large triangles from the yellow paper. Cut seven skinnier triangles from the orange paper. Use glue stick to add the triangles to the back of the painted paper plate. Keep the ends of the triangles about ½" from the rimmed line of the plate. Turn the plate over and glue on the googly eyes.
Crafts,Actvities and Worksheets for Preschool,Toddler and Kindergarten
Instructions for this Paper Plate Sun Summer Sewing Craft. 1. Begin by drawing (or tracing) a circle on the back of your paper plate. Poke a hole into the circle with your scissors and then cut out the circle. 2. Use a hole punch to punch holes around the entire perimeter of the circle about 1/2-inch to 1-inch apart. 3.

Paper Plate Sunshine {Kid Craft} Glued To My Crafts Weather crafts
6. Trace a circle a bit little larger than your googly eye on a folded piece of pink paper and simultaneously cut both circles out for the rosy cheeks. 7. Cut a smile shape for the sun's mouth out of your black paper. 8. Glue the mouth, the googly eyes and both rosy cheeks onto the center of the sun; let dry. 227 shares.
The Ultimate Work At Home Momma! DIY Sunshine paper plate Toddler Craft
Sunshine and Cloud Paper Plate Craft. Materials: 2 small paper plates Yellow craft paint Cotton balls Scissors Sponge paint brush White Glue Directions: 1. Cut slits on the outside circle of your paper plate about every 1/2″. 2. Cut out every other piece at the base of your slit to make a sun. 3. Place your sun onto a piece of scrap paper.
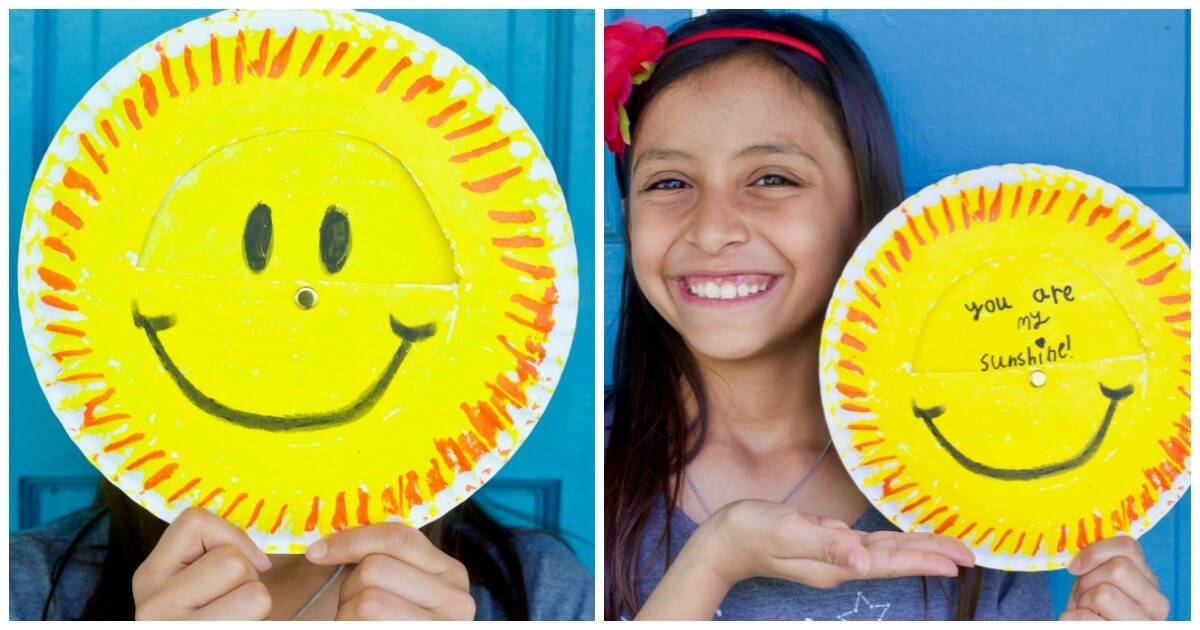
"You Are My Sunshine" Paper Plate Craft The Soccer Mom Blog
Paper Plate Yellow Sun Craft. We are sending YOU and your little crafter at home, some warm sunny rays your way with today's Paper Plate Suncatcher Sunshine kids craft idea!. Inexpensive paper plates make for the PERFECT canvas to create a beautiful ray of sunshine within minutes! My favorite part though is the "suncatcher" aspect that is made with clear contact paper and loose craft.

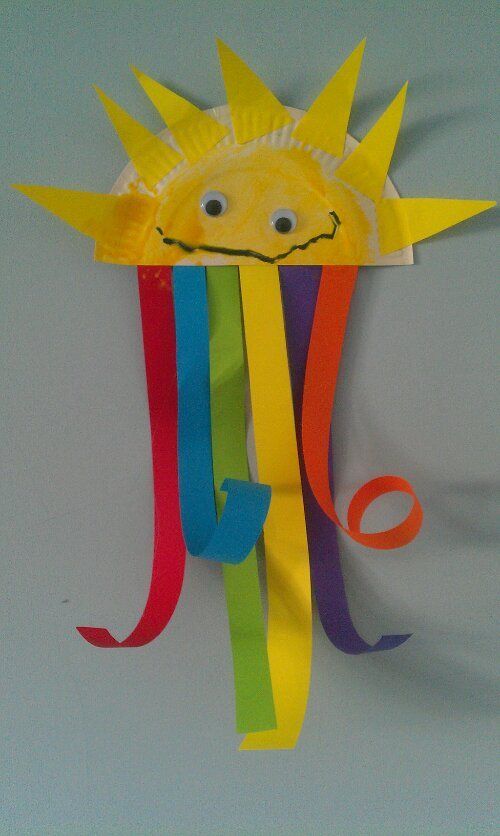
Paper Plate Sun & Rainbow Craft Kit Rainbow crafts, Spring crafts for
How to Make this Paper Plate Sun Craft. Start by trimming one of the plates about 1/2″ outside the circle imprint in the middle. You're trimming off the ruffled edges on this plate because it will be our spinner. Cut a semi-circle out of the top middle of the second plate, using the circle imprint as your guide.

Paper Plate Sun Craft for Kids! SupplyMe Summer Preschool, Summer
Squirt drops of glue onto the tissue papered plate for the eyes, nose, and mouth. Let your kid stick on the face parts. Let the sunshine dry. Cut the sheet of orange foam into 8 strips. Glue each strip onto the back of the paper plate so that they look like sunrays. Let it dry. There you have it!

Sun rainbow paper plate craft Paper plate crafts, Rainbow paper, Crafts
Start off by cutting out the coloured sugar-paper triangles for the sun's rays. Psst! If you want nice, equal-sized paper triangles. 1. Fold each of the coloured sugar paper sheets four times, like a fan. 2. Press the fan flat. 3. Then fold the fan in half (see the numbered diagram above)

Paper Plate Sun and Rainbow Craft Rainbow crafts, Crafts, Arts
Repeat with each color. Once the plate is dry, fold it in half with the yellow facing out. Glue the plate to secure. Glue yellow triangles to the paper plate to replicate rays coming from the sun. Glue on button eyes, draw your smiley face, and add the red circles to the smile. Your'e almost done!
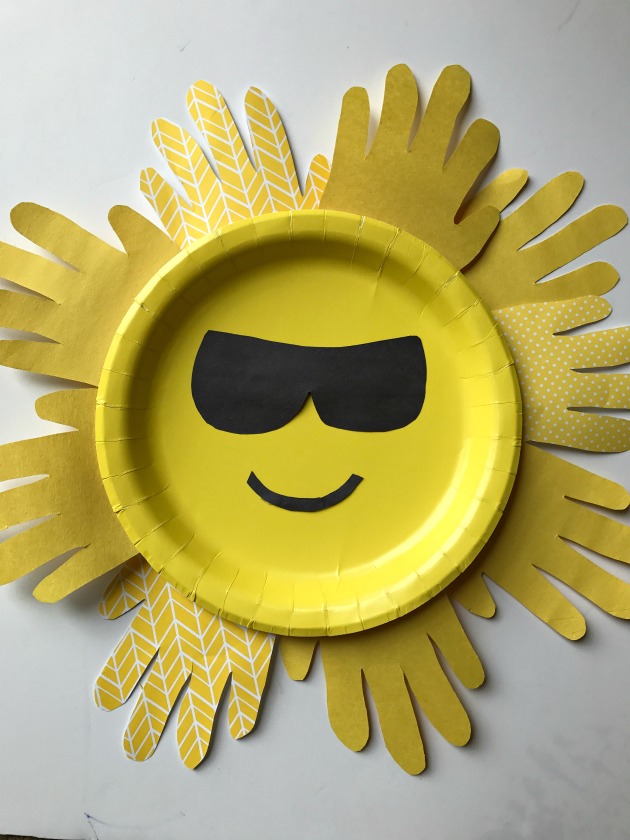
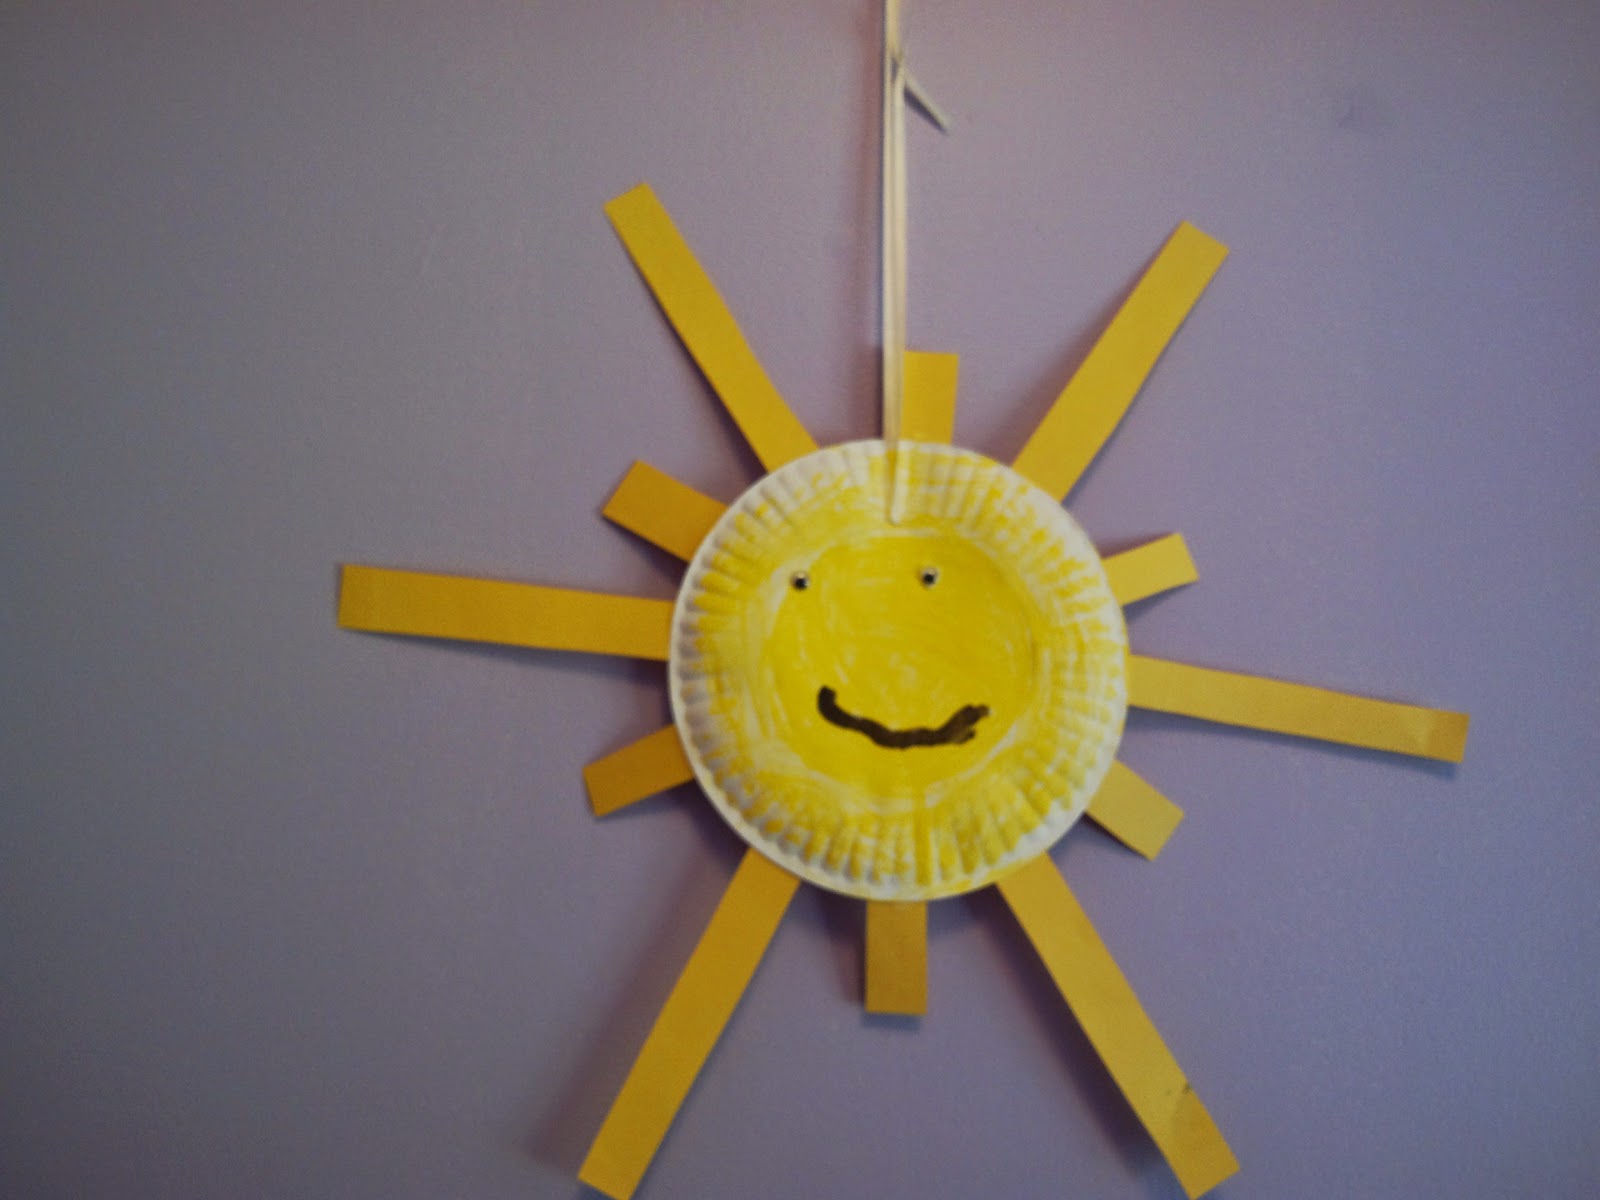
Sun Handprint Paper Plate Craft For Kids Family Focus Blog
Paper Plate Sunshine Craft For Kids. Create a sunny & YELLOW paper plate sun craft for kids! Download our "sunglasses" printable & follow our step-by-step instructions! Fun for kids! 5. Get crafty with the kids this summer and make their day even sunnier with this paper plate sun craft! Yellow Sunshine Paper Plate Craft It's going to be a.

PAPER PLATE SUN CRAFT Kids Activities Sun crafts, Sunshine crafts
Instructions. Download the free sun template, print and cut out. Paint the paper plate in 1-2 thin coats of yellow paint. Let dry completely. Glue the sun's face to the middle of the paper plate. Flip the paper plate over and draw on sun points all over the back with the pencil. Cut the paper plate along the marks you made in step 4.
The Ultimate Work At Home Momma! DIY Sunshine paper plate Toddler Craft
Twirling Paper Plate Sunshine Craft: Step-by-Step Guide: Paint the Paper Plate: Lay out the paper plate on your crafting surface. Dip different-sized pom poms with clothespins attached into yellow and orange paint, then use them as stamps to create a vibrant and textured sun design on the paper plate. Let the paint dry completely before proceeding.

Paper Plate Sunshine Crafts for Kids Sunshine Whispers
Start by grabbing and printing the paper plate sun craft template in our craft library. Cover the base of the paper plate with blue paper. Use an exacto knife to cut a slit through the middle of both the paper and the paper plate. Next cut the cloud template pieces from the white embossed paper. Attach the cloud pieces to the paper plate under.

Paper Plate Suncatcher Sunshine Spring crafts for kids, Crafts for
Step by Step Instructions. Start by painting the paper plate yellow. When the paint dries, fold the paper plate in half. Cut along the fold to get two half circles. You will need one half of the paper plate for this project. If you want, you can draw a smiley face (or any other) on the paper plate half to give your craft some personality.